How to Set Up Wyze Light Strip Pro for Ambiance and Gaming Room Lighting
By Wyzeussale | Published: 2026-06-22
Category: How-to Guides
Learn how to set up Wyze Light Strip Pro for immersive ambiance and gaming room lighting. Step-by-step guide for smart LED strip installation, app control, and sync effects.
Transforming a gaming room or living space with dynamic, color-rich lighting is one of the most impactful upgrades you can make. Smart LED strips like the Wyze Light Strip Pro offer an affordable, customizable way to create immersive environments — whether you're chasing after victory in a competitive shooter, relaxing with a movie, or simply setting the mood for a quiet evening. In this guide, we’ll walk you through everything you need to know about setting up the Wyze Light Strip Pro for ambiance and gaming room lighting, from unboxing to advanced features like music sync and smart home integration.
Why Choose Wyze Light Strip Pro for Your Gaming Setup
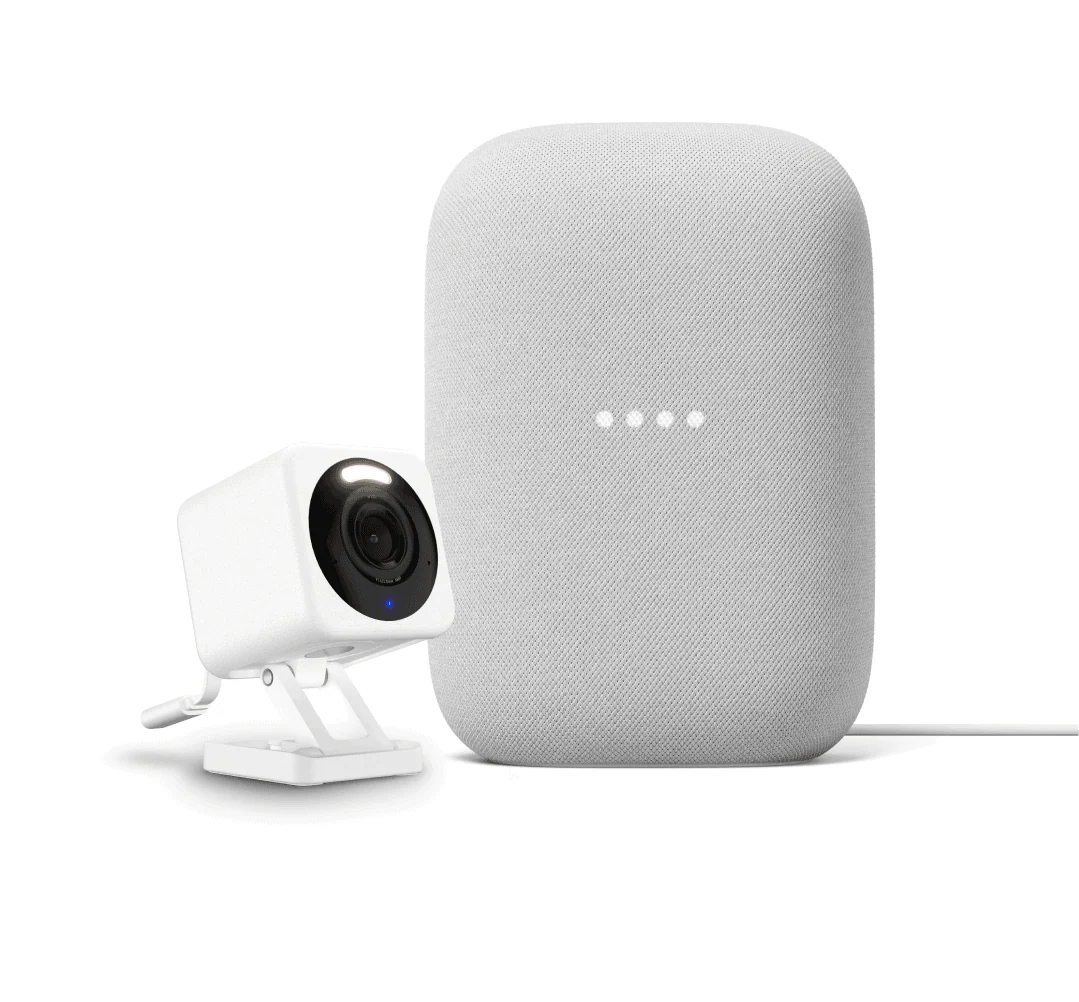
Gaming rooms thrive on atmosphere. The right lighting can reduce eye strain, enhance immersion, and even improve reaction times by reducing on-screen glare. The Wyze Light Strip Pro offers 16 million colors, adjustable brightness, and seamless integration with other Wyze devices. It’s also Matter-compatible, meaning you can control it with Alexa, Google Assistant, or Apple HomeKit without extra hubs. For gamers who already use products like the Wyze Cam v4 for streaming or monitoring their setup, adding a smart light strip ties the whole ecosystem together.
Beyond gaming, this strip is perfect for accent lighting behind desks, TVs, or along shelves. Its adhesive backing and flexible design make installation easy on almost any surface. Plus, with a length of 10 feet (extendable), you can cover a standard desk or monitor backlight setup with room to spare.
What’s in the Box?
Before you start, here’s what you’ll find inside the Wyze Light Strip Pro package:
- 10-foot LED strip with pre-attached adhesive backing
- Control box with power adapter
- Quick start guide
- Mounting clips (optional for curved surfaces)
You’ll also need a stable 2.4GHz Wi-Fi connection and the Wyze app (available for iOS and Android). No hub is required, but if you own a Wyze Wi-Fi 6 Mesh Router, you’ll benefit from better range and reduced latency for your smart home network.
Step 1: Physical Installation
Choose Your Placement
Decide where you want the light strip. Common spots for gaming rooms include:
- Behind a monitor or TV (bias lighting)
- Under a desk or shelf
- Along the perimeter of the ceiling or baseboards
- Inside a glass cabinet to display collectibles
For best ambiance, avoid direct line-of-sight to the LEDs — diffused light bouncing off walls creates a softer, more professional look.
Clean and Measure
Wipe down the surface with isopropyl alcohol to remove dust and grease. Measure the length you need; you can cut the strip at marked intervals (every 1.6 inches) if necessary. The cut points are clearly indicated — just use scissors and seal the end with the provided cap.
Attach the Strip
Peel off the adhesive backing and press the strip firmly onto the surface. For corners or curves, use the included mounting clips to keep the strip secure. Avoid bending the strip at sharp angles — a gentle curve works best.
Step 2: Connecting to the Wyze App
Now that the strip is physically installed, it’s time to bring it to life.
- Plug in the power adapter and wait for the strip to flash (this indicates pairing mode).
- Open the Wyze app and tap the “+” icon in the top-left corner.
- Select “Add Device” > “Lighting” > “Wyze Light Strip Pro”.
- Follow the on-screen prompts: confirm your Wi-Fi network (2.4GHz only) and wait for the pairing chime.
- Give your strip a name like “Gaming Desk” or “Ambient TV”.
If you encounter any connection issues, ensure your phone is on the same 2.4GHz network and try moving closer to your router. A strong Wi-Fi signal is critical for smooth app control and automation.
Step 3: Customizing Colors and Effects for Gaming
The real magic happens in the app’s lighting controls. Here are the key features to explore:
Color Wheel and Brightness
Tap the color wheel to choose from over 16 million shades. For gaming, many users prefer cool blues or purples to reduce eye strain, or team-colored red/blue to match their setup. Adjust brightness from 1% to 100% using the slider.
Music Sync
This feature uses your phone’s microphone to pulse the lights in sync with music or game audio. It’s fantastic for rhythm games or cinematic cutscenes. Note: you can adjust the sensitivity to avoid flickering during quiet moments.
Scenes and Schedules
Create custom scenes like “Gaming Mode” (dynamic cycling colors) or “Movie Night” (warm dim orange). You can also set schedules — for example, the strip automatically turns on at 7 PM when you start your gaming session.
Step 4: Integrating with Other Smart Home Devices
One of the best aspects of the Wyze ecosystem is how devices work together. Here are two powerful integrations:
Trigger Lights with Camera Motion
If you have a Wyze Cam v3 pointed at your gaming room door, set a rule: when the camera detects motion, the light strip turns red to alert you someone is entering. This is great for privacy during streaming.
Voice Control with Routines
Pair the strip with Alexa or Google Assistant to say “Alexa, game time” — which can turn on the strip, dim the main lights, and even start your PC (with a smart plug). The Matter support ensures future-proof compatibility.
Tips for Optimizing Ambiance and Performance
Use the Right Surface
Matte walls diffuse light better than glossy ones. If you’re mounting behind a monitor, a white wall will reflect colors more evenly than a dark one.
Avoid Overlapping Sections
When cutting and reattaching, make sure the copper pads are fully covered by the connector. Loose connections can cause flickering or gaps in color.
Extend with Additional Strips
The Wyze Light Strip Pro supports expansion up to 32 feet with compatible extension kits (sold separately). This is perfect for wrapping around an entire room or a large desk perimeter.
Troubleshooting Common Issues
| Issue | Cause | Solution |
|---|---|---|
| Strip not turning on | Power adapter not fully inserted | Check connection at the control box and wall outlet |
| App cannot find device | Phone on 5GHz Wi-Fi | Switch to 2.4GHz band and retry |
| Colors are dim or uneven | Strip installed backward | Ensure arrow on strip points away from control box |
| Music sync is delayed | Phone microphone blocked | Move phone closer to the strip or reduce sync sensitivity |
Beyond Gaming: Everyday Ambiance Uses
The Wyze Light Strip Pro isn’t just for gamers. Use it to create a calming reading nook with warm white light, a vibrant party atmosphere with rainbow cycles, or a gentle nightlight in a hallway. You can even pair it with a Wyze Lamp Socket to control both a lamp and the strip from the same app — perfect for layered lighting in a living room.
Final Thoughts
Setting up the Wyze Light Strip Pro is a straightforward DIY project that delivers an instant transformation. With its rich colors, smart features, and seamless integration into the Wyze ecosystem, it’s an excellent choice for anyone looking to elevate their gaming room or home ambiance. Whether you’re a casual user or a hardcore streamer, the ability to customize lighting to match your mood or activity adds a new dimension to your space.
Ready to upgrade your lighting setup? Check out the Wyze Lamp Socket to combine with your light strip for even more control, or explore the full range of Wyze smart home products at Wyzeussale to build your perfect ecosystem.